How to invite and manage agents to your Tawk.to chat environment.

David Vidal
Last Update 4 tahun yang lalu
You don’t have to do it alone. With tawk.to, you can invite other people to help you respond to chats and manage your account. Someone who has access to your Dashboard and can respond to incoming chats is referred to as an agent. There is no limit to the number of agents you can add to your account (and it’s free).
An agent can be given access to a property with a page or a website on which the widget has been added. For example, if you add a friend to one of your properties, they will be able to see visitors on your website and answer any incoming chats.
tawk.to is an agent-centric chat application. When logging into an account, an agent can be associated with multiple properties and will be able to respond to any incoming chats from those properties.
How to invite Agents to your property
Adding agents to a property is quick and easy.
Only an Admin can invite and manage the agents added to a property.
If you have multiple properties, check to make sure you're currently viewing the correct one by hovering over the hamburger icon at the top of the Dashboard.

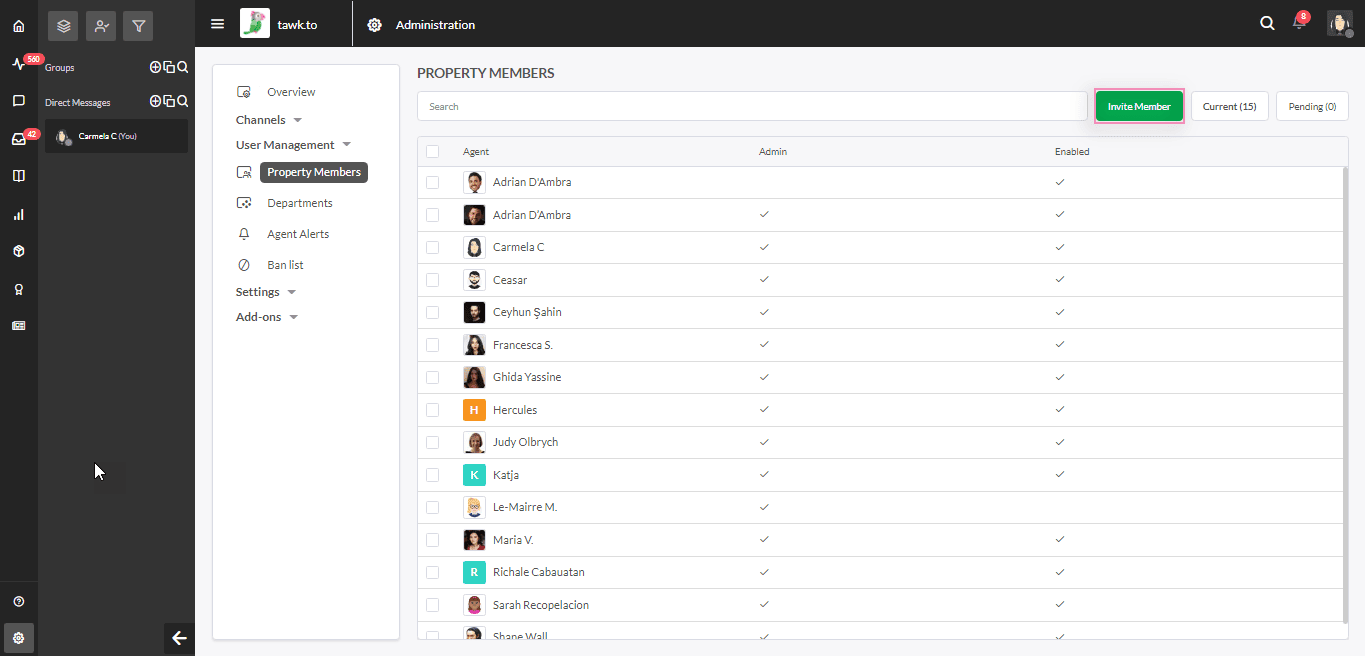
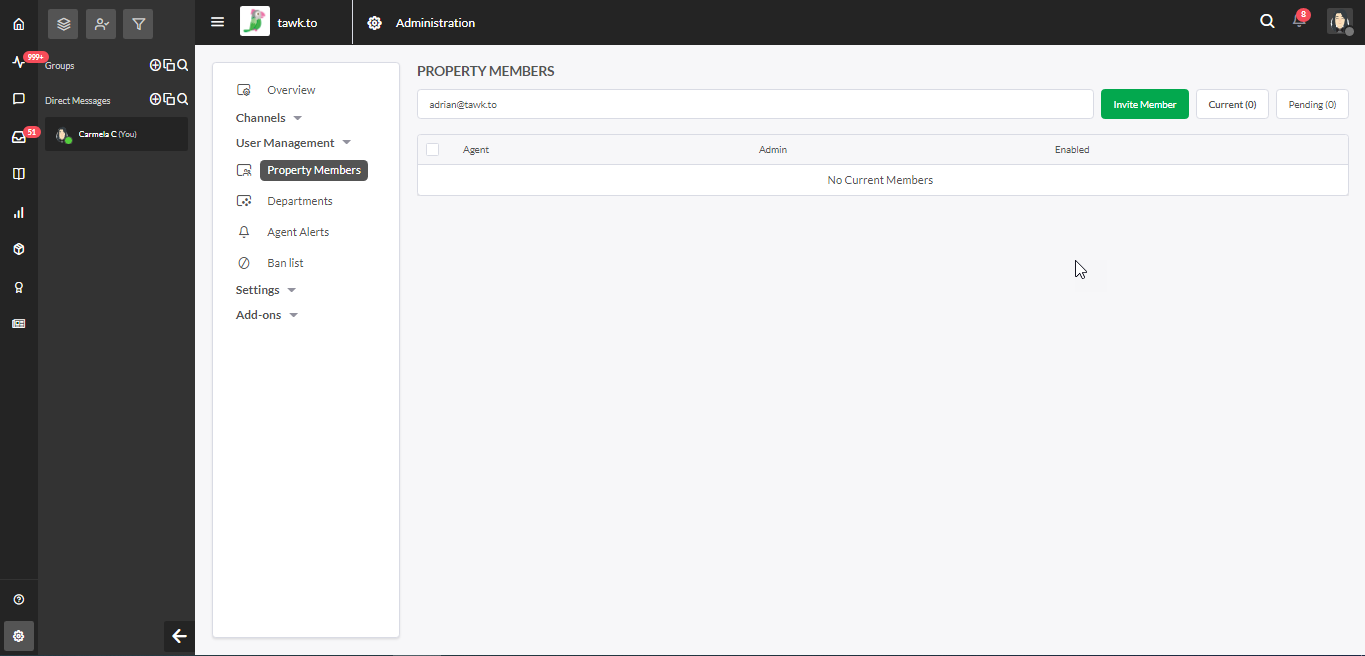
Make your way to ⚙️Administration ➞ User Management ➞ Property Members.

To add a new agent to the property, click the green Invite Member button in the top right corner, enter the email of the member you want to invite, and choose either Admin or Agent status.
If you want to add more than one team member, click the + Add Another button.
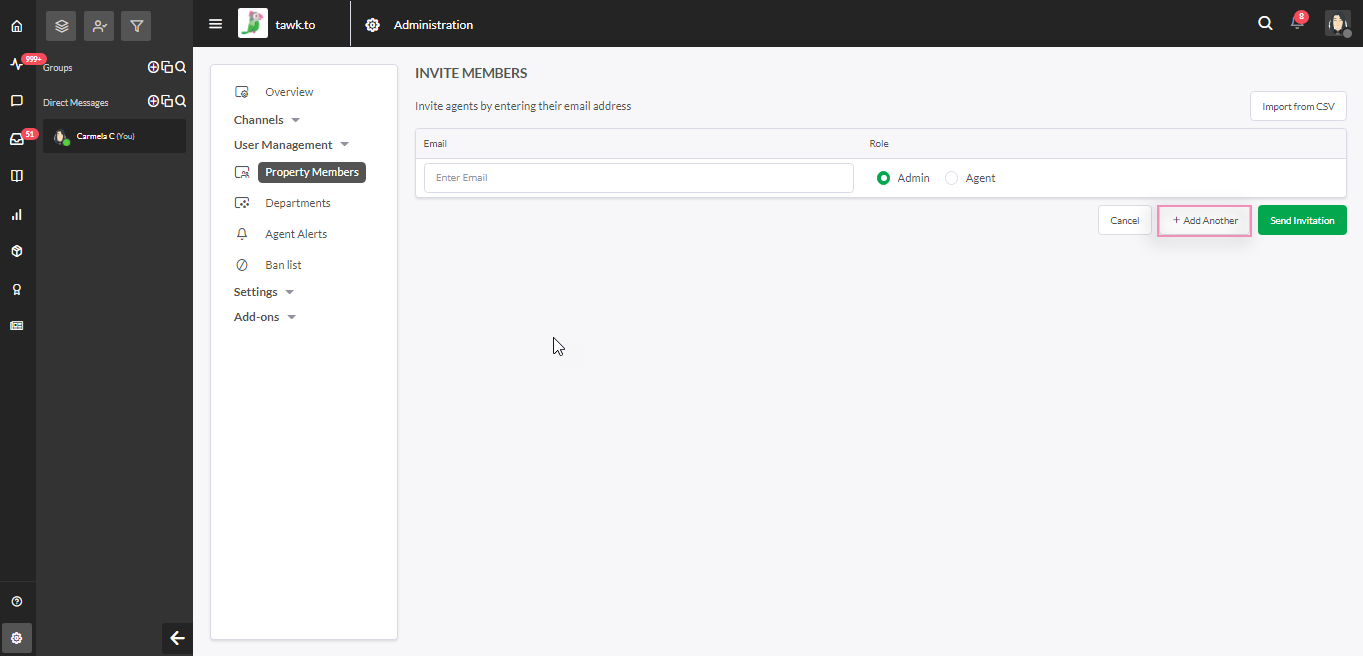
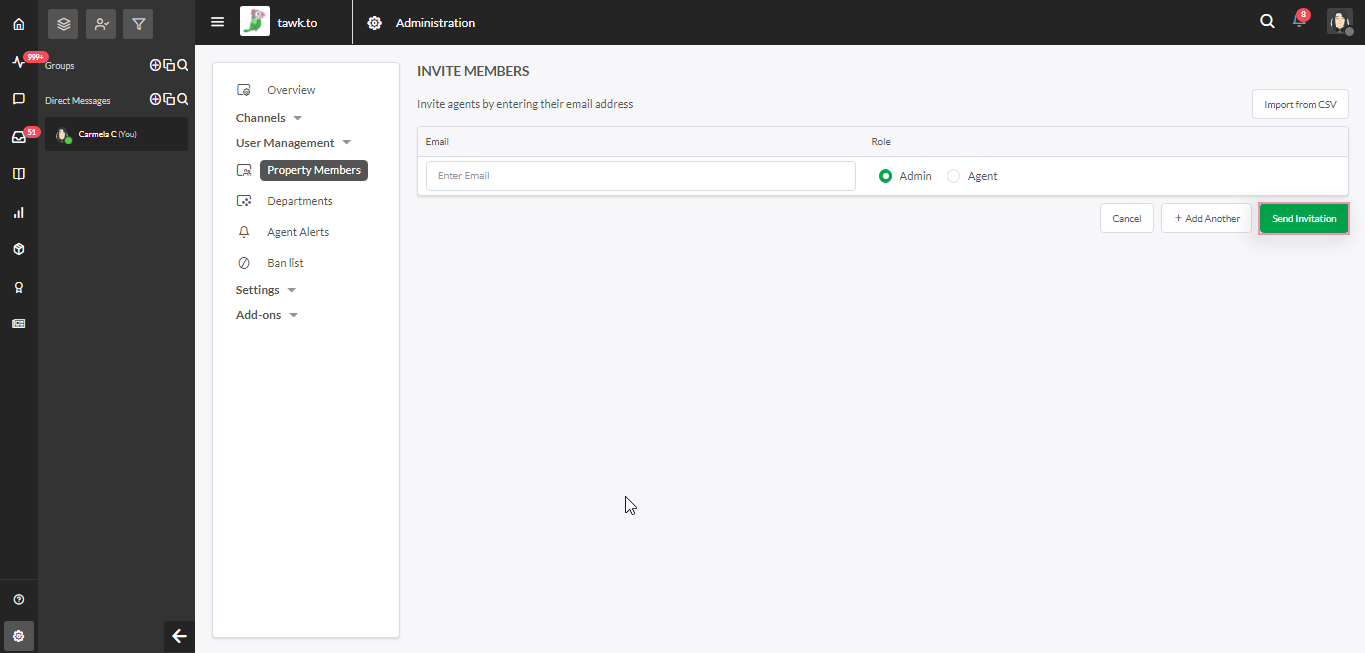
Once you've entered the email and selected a status, hit the green Send Invitation button and you're done on your end.
The new member will then receive an email asking them to confirm that they want to be added to the property. If they already have an account associated with the email, they’ll be asked to log into their account to accept the invitation. The invite will appear in the notifications at the top right of the Dashboard (the bell icon).
If they don't yet have a tawk.to account, they will be prompted to sign up for one before they can accept the invitation.
Pending Invitations
You can check the status of invitations to your property by clicking on the Pending tab in the top right-hand corner. Email addresses in the pending tab indicate that the invitation to join your property has not yet been accepted.
If the agent still does not receive the invitation, ask them to check their spam/junk folder. If they cannot find it there, please reach out to our team in chat. We’ll be able to check to find out what has happened to the email.
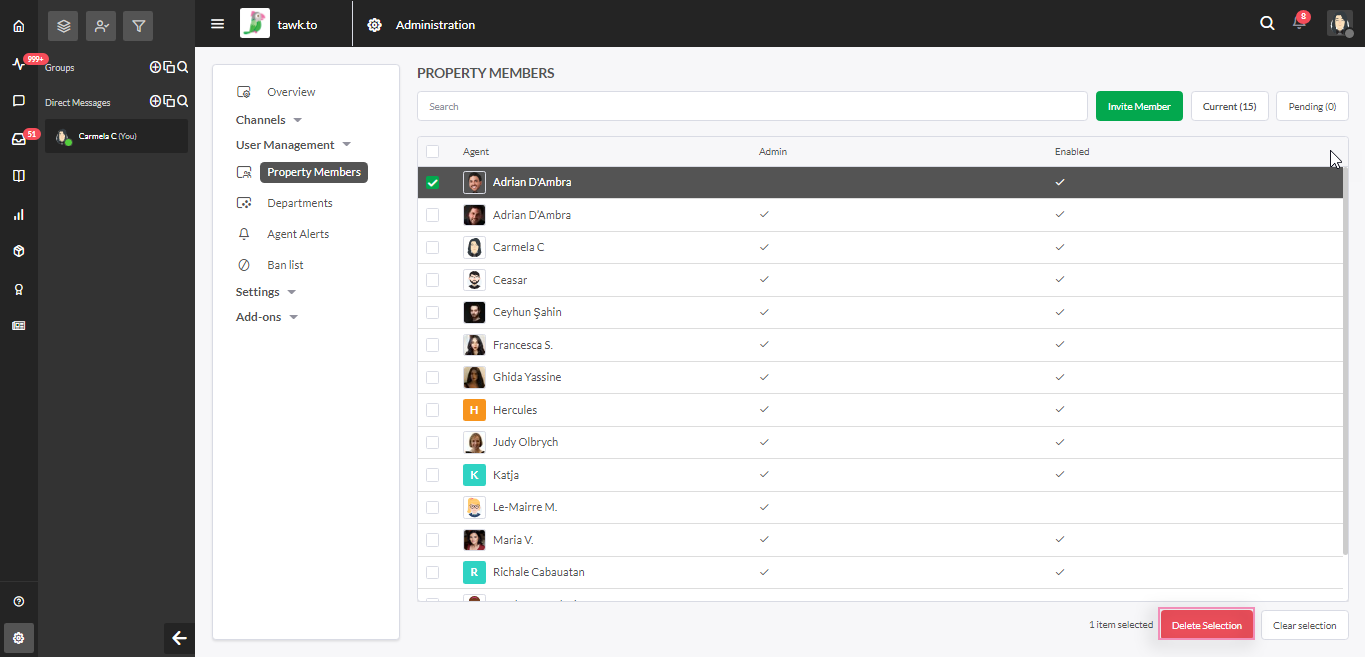
By selecting the check box to the left of the agent’s email address and clicking on the red Delete Selection box, you can opt to delete the invitation.
Managing Agents associated with your property.
In the Property Members section, you'll see a list of all agents associated with the currently selected property. You can make changes here for each agent, controlling whether or not they have admin status and enabling or disabling their access to the property.
The difference between an Admin and an Agent:
An admin can access all the settings in your Administration menu. They have the same privileges as the primary account administrator.
An Agent can do the following:
- Respond to chats
- Respond to tickets
- Access Reporting
- Access Messaging (where chats and tickets are stored)
- Create and edit articles in your Knowledge Base
- Create and edit Shortcuts
- Access Property Members (they can see which members are associated with the account. However, they can make no changes )
Adding agents to your property is easy and makes it easier to manage customer interactions.